How to set the inflation of the costmap to represent a rectangle robot?
Hi everyone,
I looked at this page but I don't understand how to configure the costmap to represent a rectangular robot. This question is a follow-up to this one where I got a solution from David Lu which allows me to use global_planner alone to plan a path in a map (from an imported image).
[UPDATE]
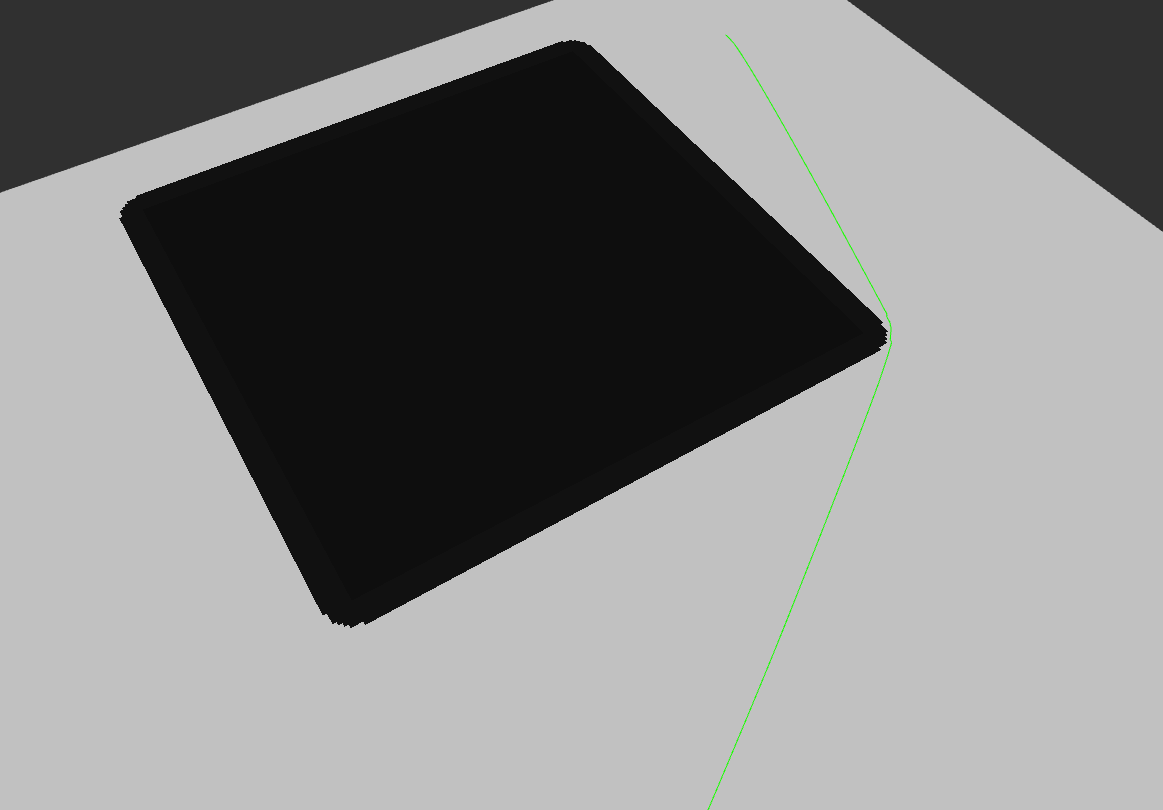
As pavel92 advised me, I defined footprint and inflation_radius and it works fine. First, I thought it didn't work because the map resolution was too low and I couldn't see any difference because the obstacles remained rectangular, so I switched the resolution from 1 to 0.1 and made the map 10 times bigger.
First, I was confused with the meaning of the inflation_radius, but I found this explanation.
Here is the code:
map.yml
image: map_obstacle400.png
resolution: 0.1
origin: [0.0, 0.0, 0.0]
occupied_thresh: 0.65
free_thresh: 0.196
negate: 0
map.png

roslaunch file
<launch>
  <node name="gp" pkg="global_planner" type="planner" output="screen">
  <rosparam>
  costmap:
    footprint: [[-2.5, -1.65], [-2.5, 1.65], [2.5, 1.65], [2.5, -1.65]]
    inflater_layer:
      inflation_radius: 0.7
    plugins:
      - {name: 'static_layer', type: 'costmap_2d::StaticLayer'}
      - {name: inflater_layer, type: "costmap_2d::InflationLayer"}
  </rosparam>
  </node>
  <node name="static_tf" pkg="tf" type="static_transform_publisher" args="0 0 0 0 0 0 /map /base_link 100"/>
  <node name="map_srv" pkg="map_server" type="map_server" args="/home/loic/Desktop/ROSAnswers2/map.yml"/>
</launch>
call to /gp/make_plan
rosservice call /gp/make_plan "start:
  header:
    seq: 0
    stamp:
      secs: 0
      nsecs: 0
    frame_id: '/map'
  pose:
    position:
      x: 5.0
      y: 5.0
      z: 0.0
    orientation:
      x: 0.0
      y: 0.0
      z: 0.0
      w: 1.0
goal:
  header:
    seq: 0
    stamp:
      secs: 0
      nsecs: 0
    frame_id: '/map'
  pose:
    position:
      x: 30.0
      y: 30.0
      z: 0.0
    orientation:
      x: 0.0
      y: 0.0
      z: 0.0
      w: 1.0"
rviz
(run after the launch file, it show the map and the footprint, the path shows up after the /gp/make_plan call as expected)


